How to print & fold your booklet
Five steps from PDF to a real little book on the shelf.
- 1
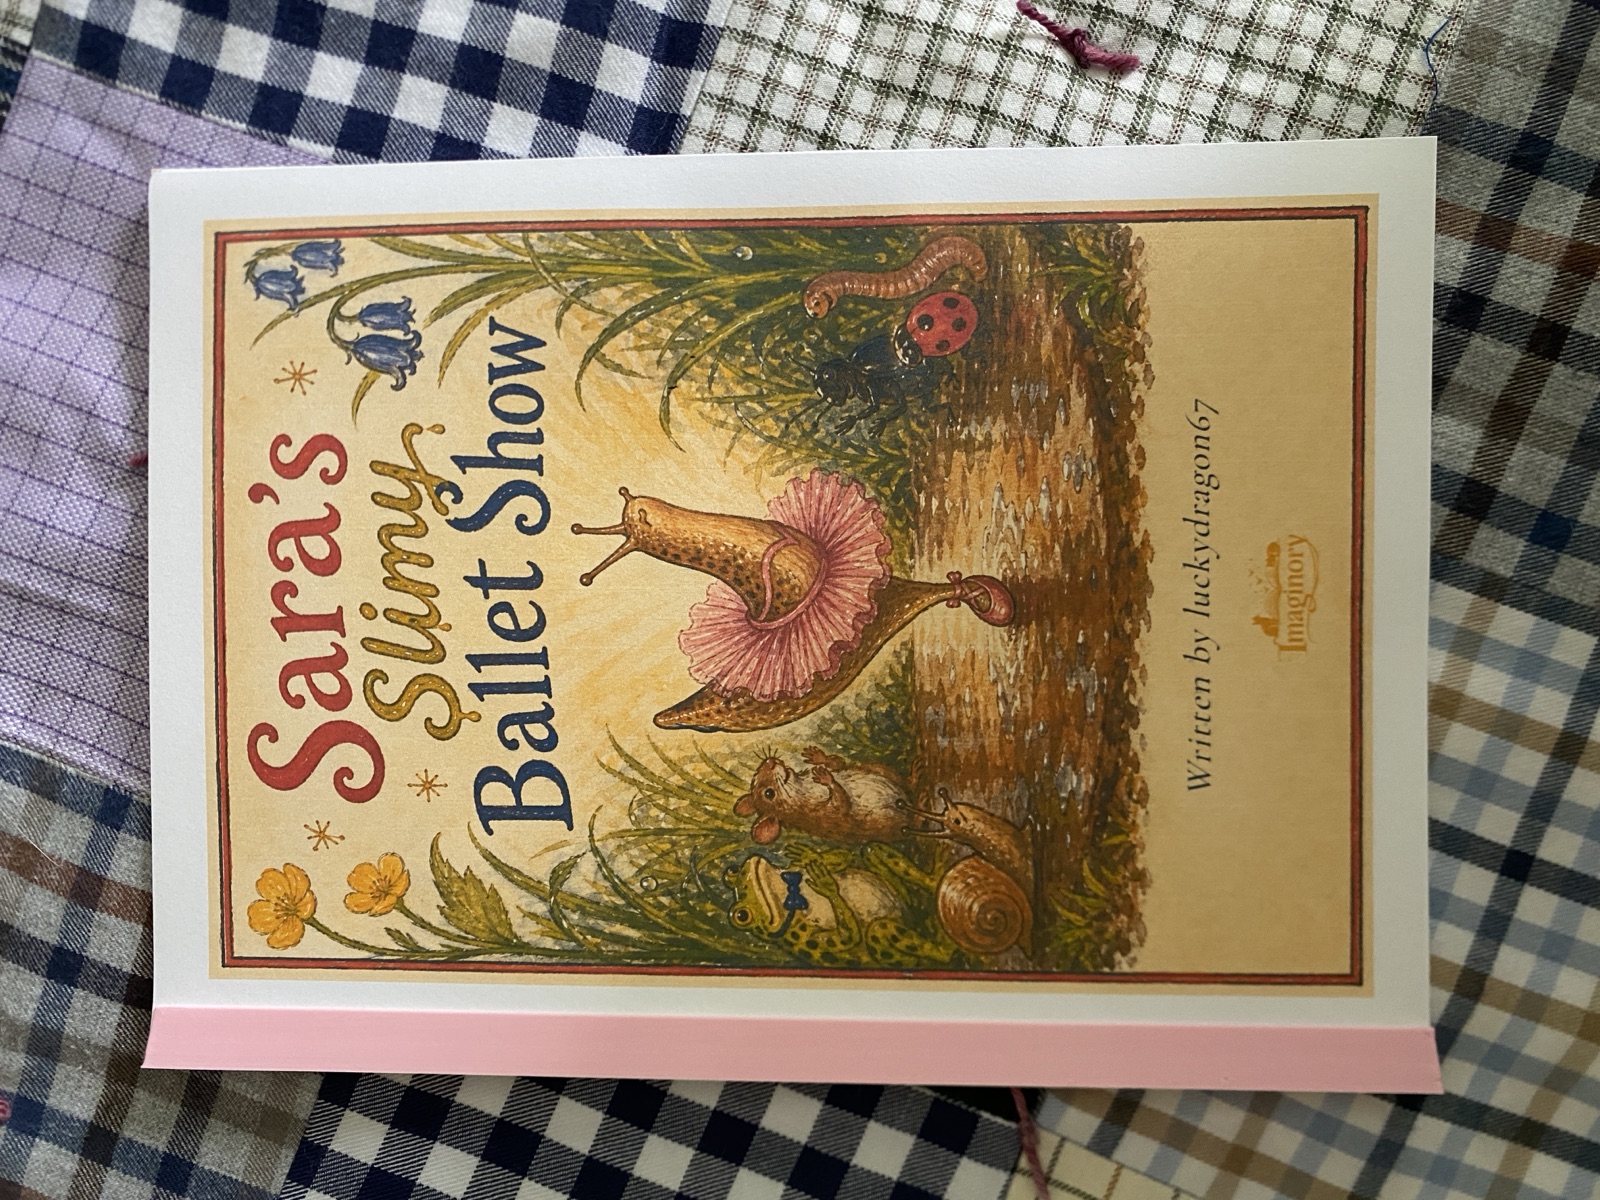
Download your booklet
Open any finished story, tap “Download to print”, and choose Booklet. You’ll get a print-ready PDF (A4, two pages per sheet).
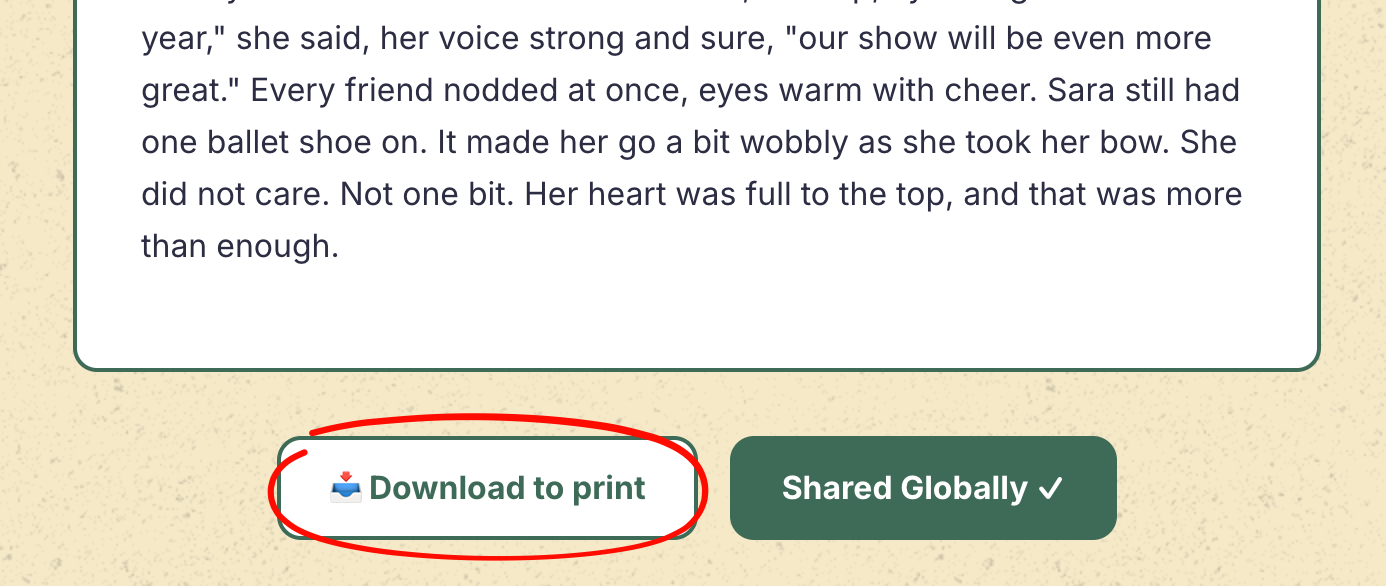
Tap “Download to print” and choose Booklet. - 2
Print double-sided — flip on the LONG edge
In your printer settings choose Two-Sided / Double-sided, flipping on the long edge. This is the most important step: the pages are arranged so the booklet only folds correctly when printed this way. (Some viewers, like macOS Preview, won’t remember this automatically — set it each time.)
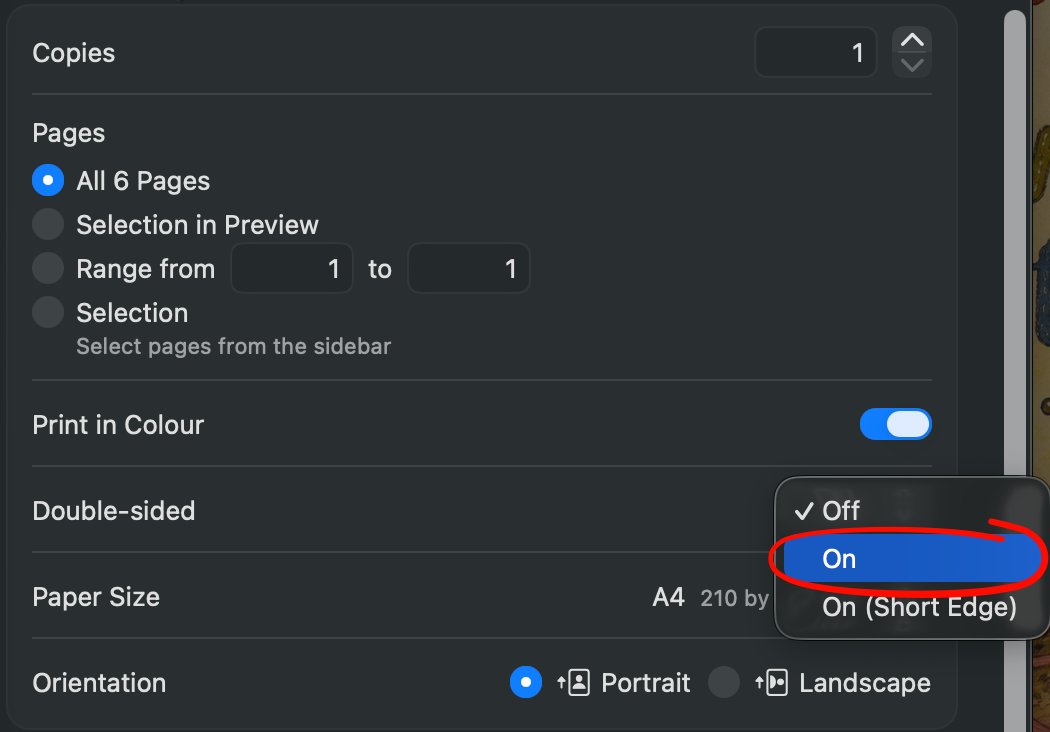
Double-sided → On (long edge) — not “On (Short Edge)”. - 3
Print at actual size
Set the scale to 100% / Actual Size — not “Fit to page” — on A4 paper, so the margins and spine line up.
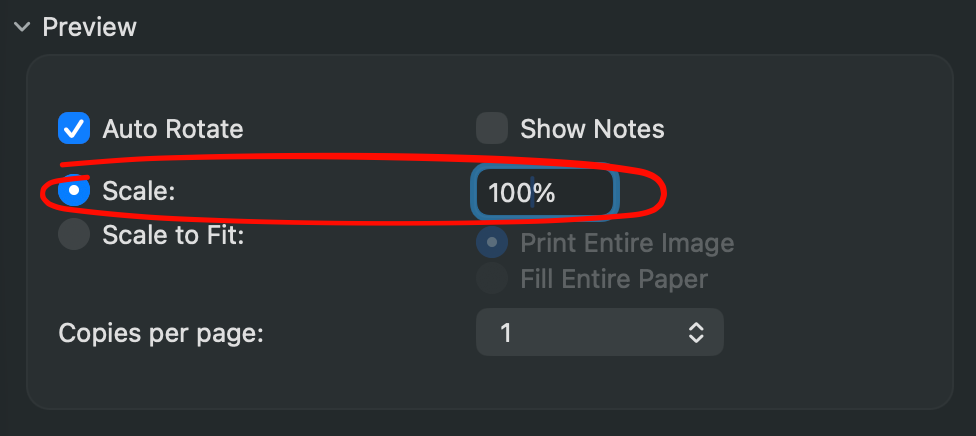
Scale → 100% — not “Scale to Fit”. - 4
Fold and nest
Fold each printed sheet in half. Stack them so the first sheet is on the outside and the rest nest inside it.
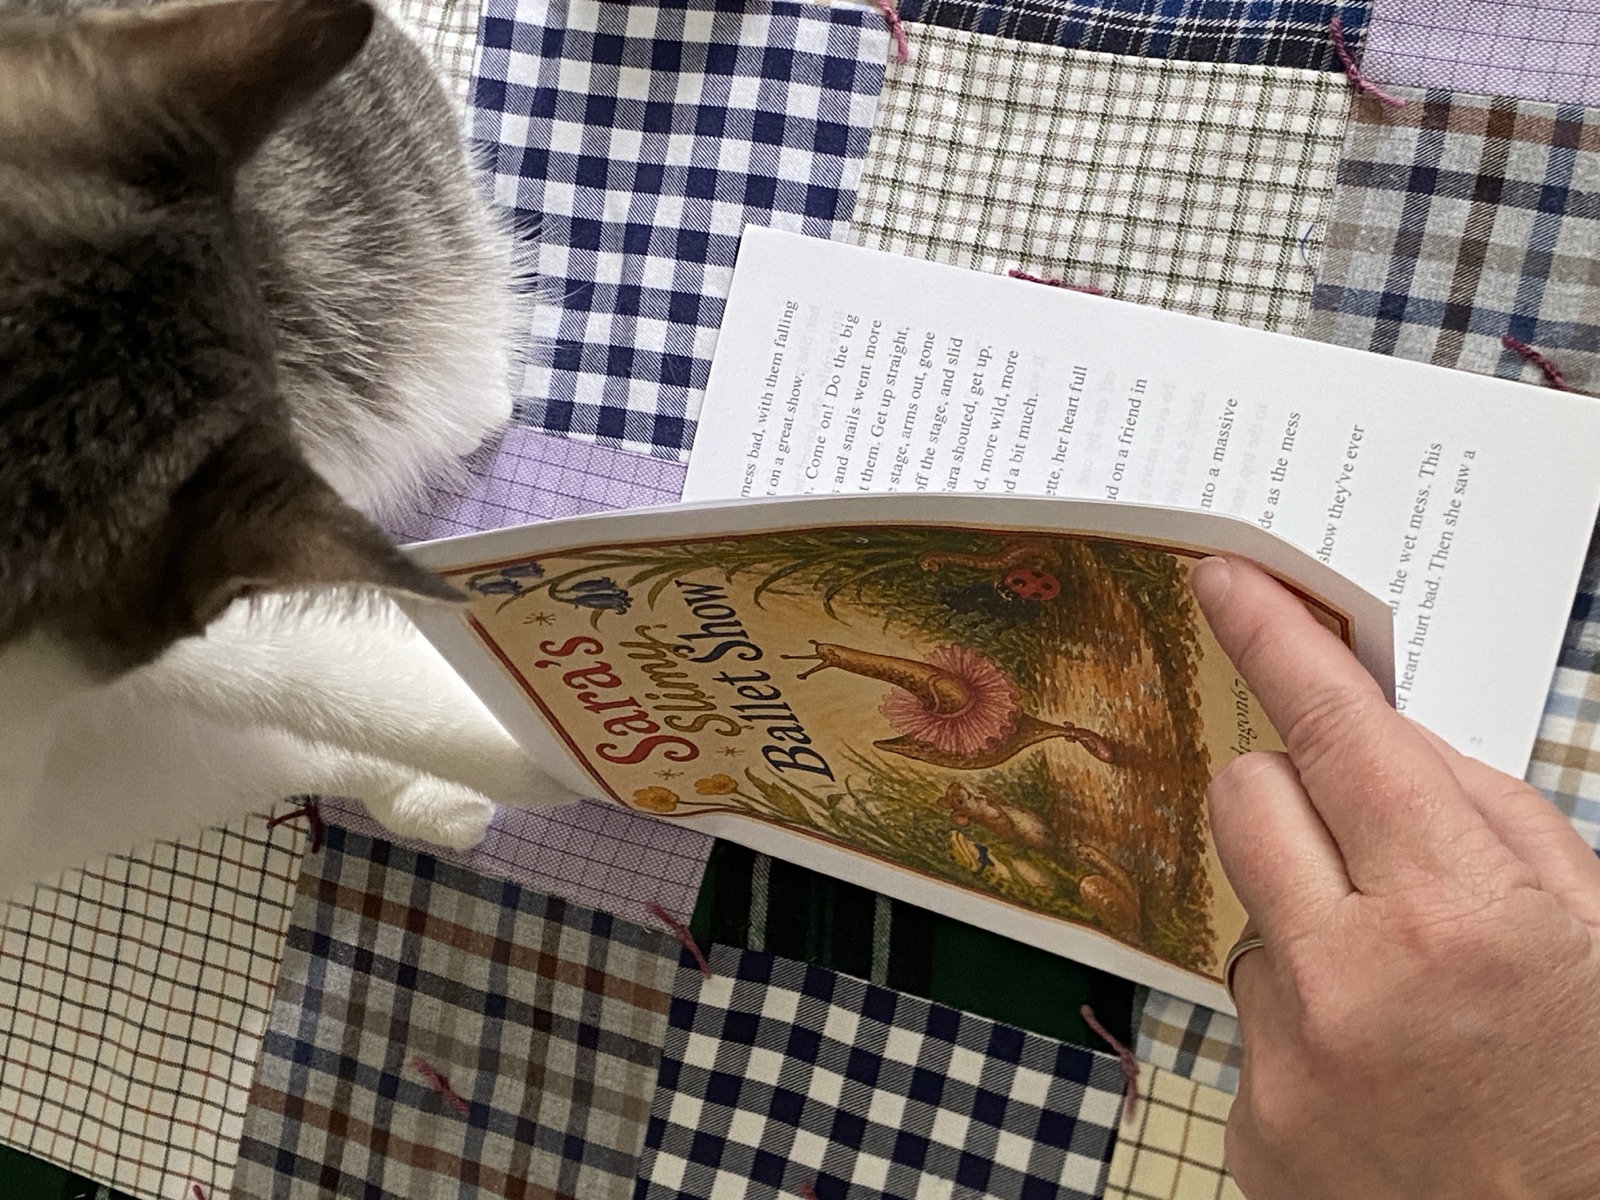
Fold each sheet and nest them — with Quill’s extra paw. - 5
Slide into the binder
Tuck the folded spine into your 3D-printed Imaginory binder — and your booklet is a real book.
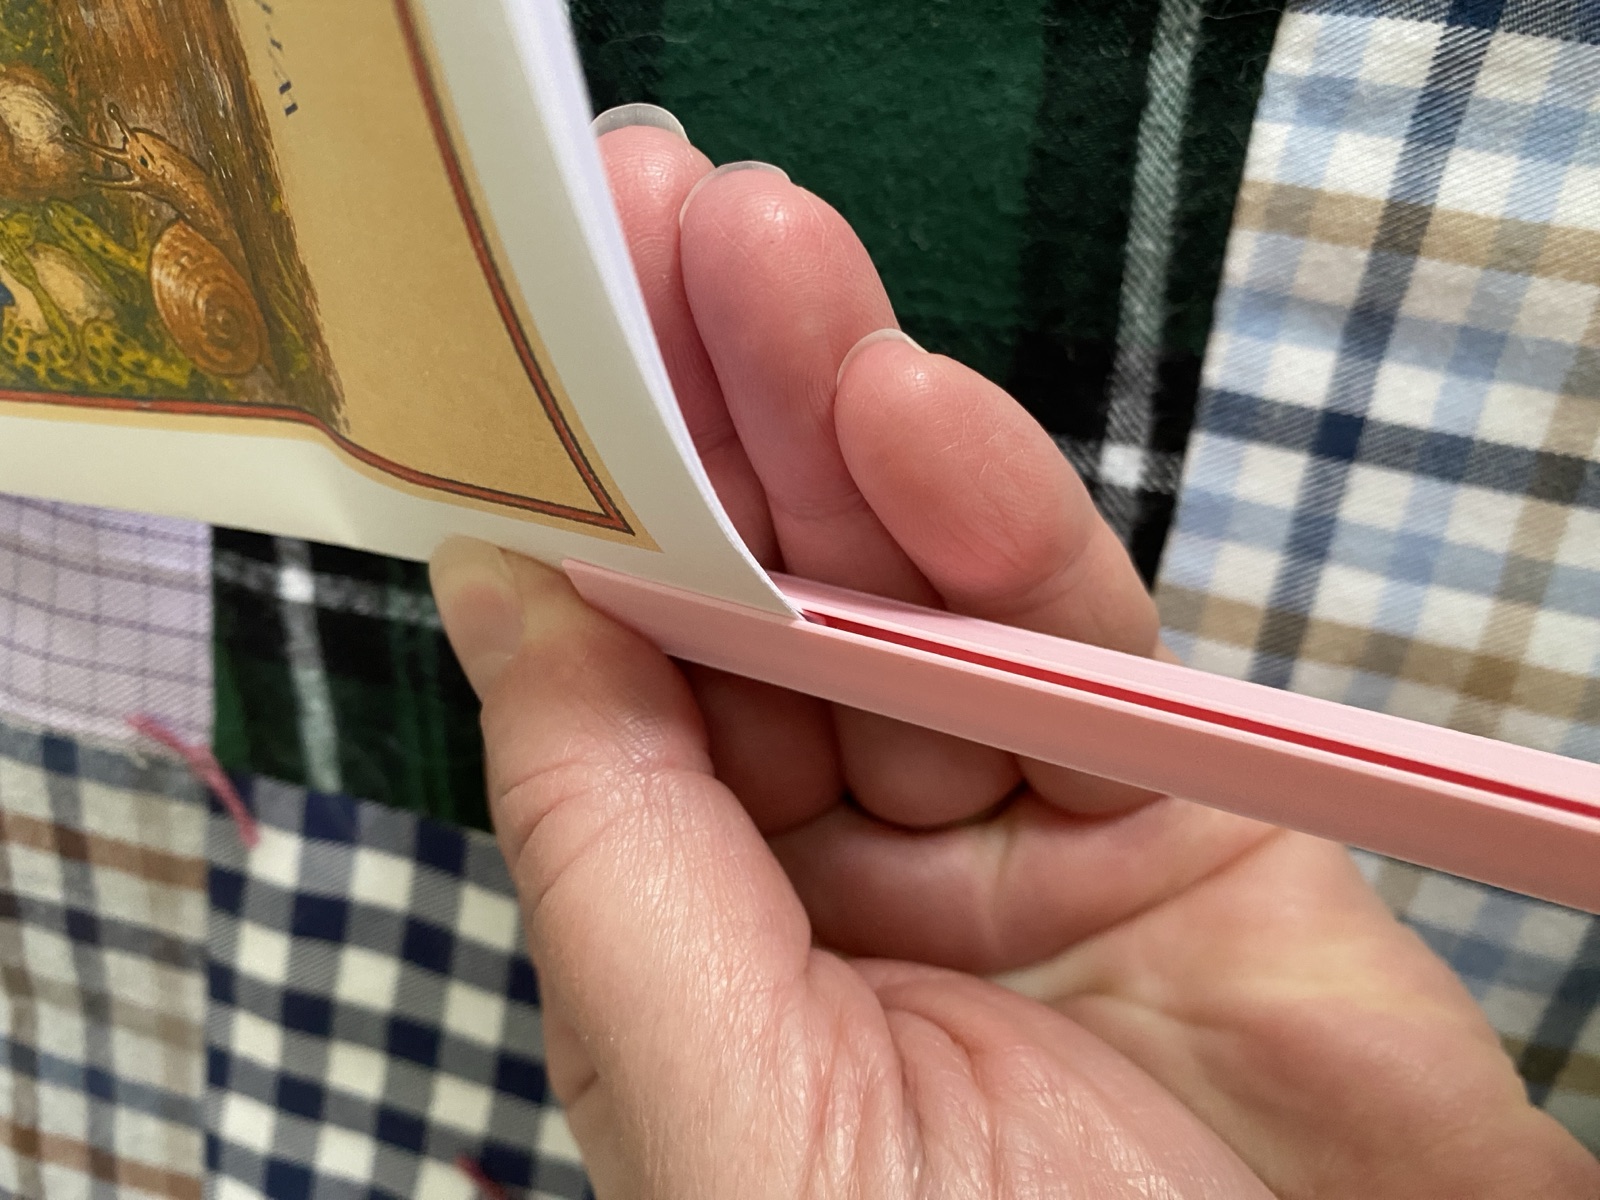
Slide the folded spine into your binder.